


Contact Us
Full Width Contact

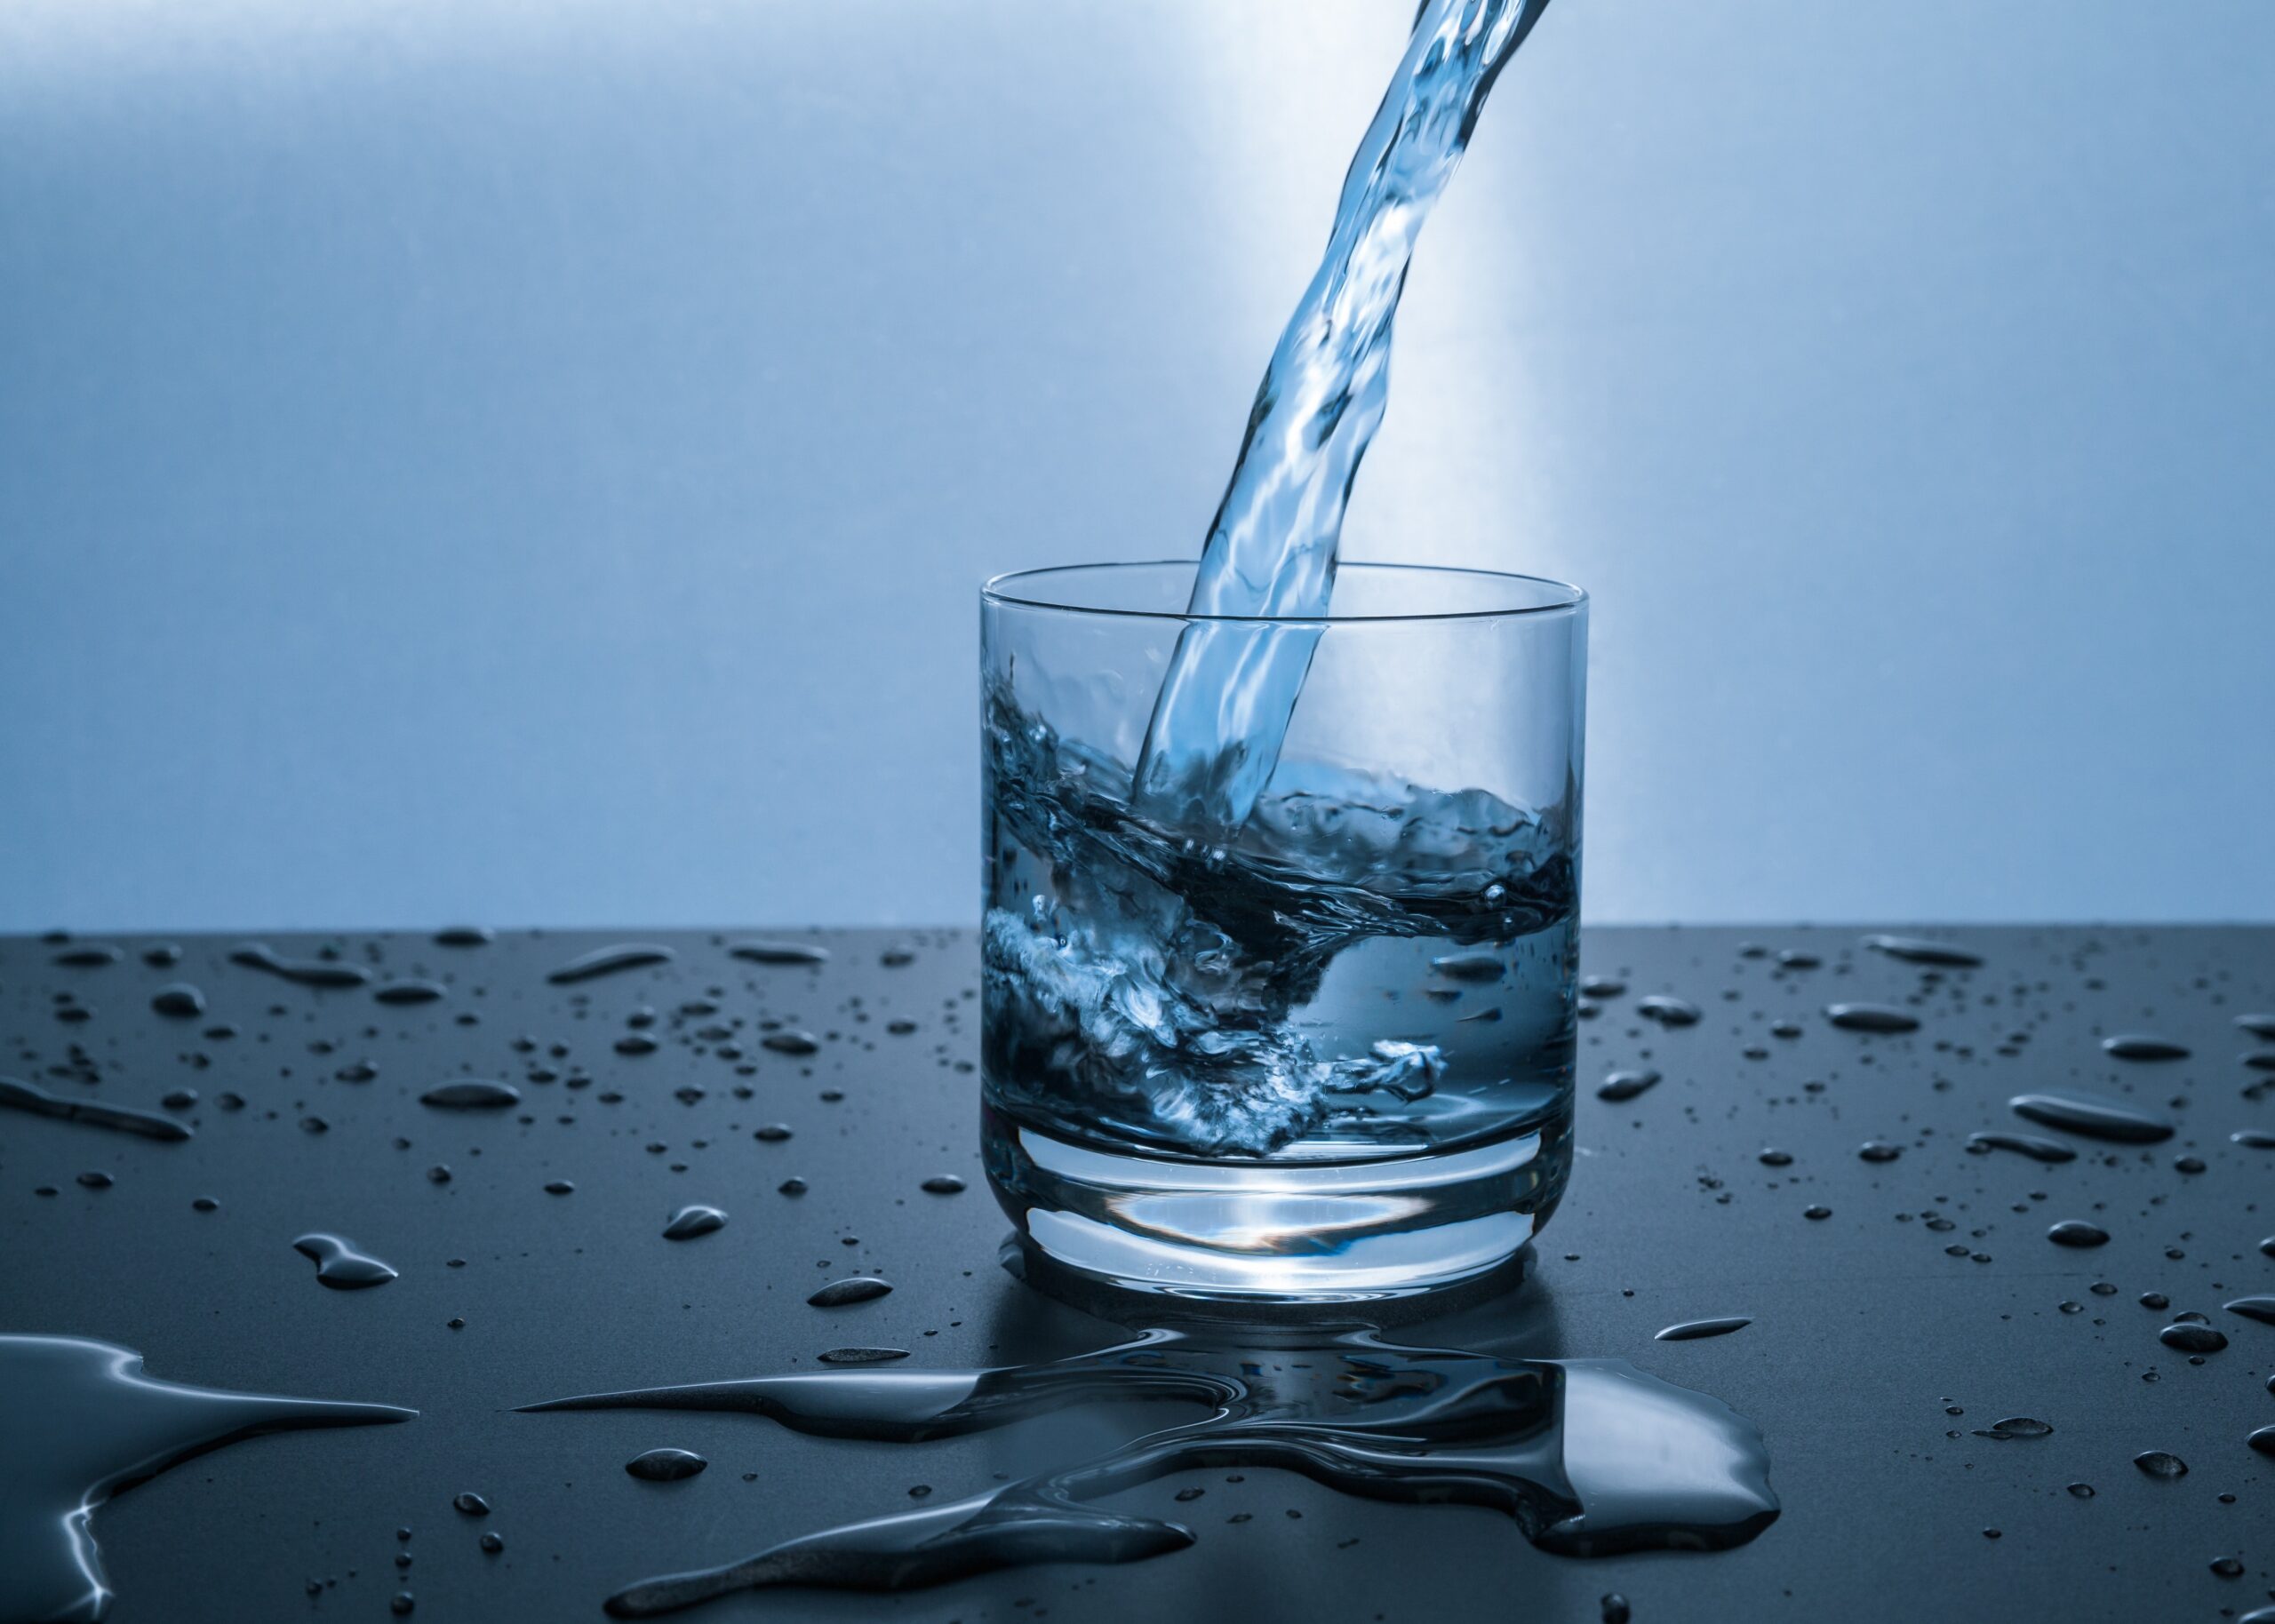
Water Systems: Testing & Treatment
Hard water is one of the most common problems for homeowners in Virginia because Virginia has a layer of calcium-based bedrock, which creates hard water issues. Water softeners help remove minerals from your water, protecting you and your home from the consequences of hard water.
Would you benefit from a water softening system? F.H. Furr Plumbing, Heating, Air Conditioning & Electrical is here to explain the signs of hard water issues and how they impact you.
Signs of Hard Water Issues
Hard water is caused by calcium, iron, or magnesium deposits that get into drinking water. It can create issues with your plumbing system and anything else that comes into contact with your tap water. Looking out for signs of hard water issues will help you identify how hard water may negatively impact your home.
Signs of hard water include:
- Mineral buildup: Look out for crusty white buildup on faucets, showerheads, sinks, drains, tiles, or appliances.
- Soap scum and residue: Magnesium and calcium particles in your water will react with soap, leaving behind soap scum. This buildup can hold onto moisture, causing mold, mildew, and bacterial growth. The interaction between the minerals and soap also prevents suds from forming as they usually would and may leave behind soap residue.
- Strange-tasting or -smelling water: Tap water with an unpleasant taste or smell is a clear sign of hard water. You may notice water that tastes slightly bitter or salty, or smells like rotten eggs.
- Stiff clothing: If your clothes feel stiff or rough after washing them, this could be because hard water deposits have attached to them. High mineral levels can also leave stains on freshly washed clothes, fade colors, and weaken the fabric fibers over time.
How Hard Water Affects You & Your Home
Fortunately, hard water isn’t dangerous for your health, but it increases the risk of bacterial growth and can create issues for your home over time.
Some consequences of hard water include:
- Frequent plumbing problems: Mineral buildup in your pipes and faucets will increase plumbing and drain problems over time. If the mineral content in your water is especially high, it can erode your plumbing fixtures and piping, creating extensive damage that will be costly to fix.
- Increased bills: Hard water can weaken pipes, increasing the risk of leaks, cracked pipes, and other issues that will raise your water bills. Mineral buildup in your boiler or water heater will also make those systems less effective, so they’ll try to use more energy to compensate.
- Appliance issues: Hard water threatens all your appliances that use water. Washing machines, dishwashers, and even coffee makers — minerals can build up in these machines, making them perform less effectively and increasing the risk of breakdowns.
- Skin issues: The minerals in your water can dry out your skin and clog your pores, leading to pimples, dry, itchy, or flaky skin, and even eczema.
The Benefits of Water Softening Systems
Water softening systems work by removing minerals from water through an ion exchange process. They address hard water issues and prevent problems from mineral buildup.
The benefits of these systems include:
- Improved water quality
- Pipe and appliance protection
- Reduction of soap scum and mineral buildup
- Prevention of bacteria, mold, and mildew growth
- Improved effectiveness of soaps and detergents
- Water that’s gentler on skin and hair
- Prevention of faded or damaged laundry
- Extended plumbing system lifespan
Schedule a Water Softener Installation
The expert plumbers at F.H. Furr offer a range of water conditioning services, including water softener installation. Our water conditioning specialists can test your water to determine the current level of minerals and then recommend the best system for your needs and budget.
We offer industry-exclusive guarantees, flat-rate pricing, and 100% customer satisfaction.
Contact F.H. Furr today or schedule an appointment online.
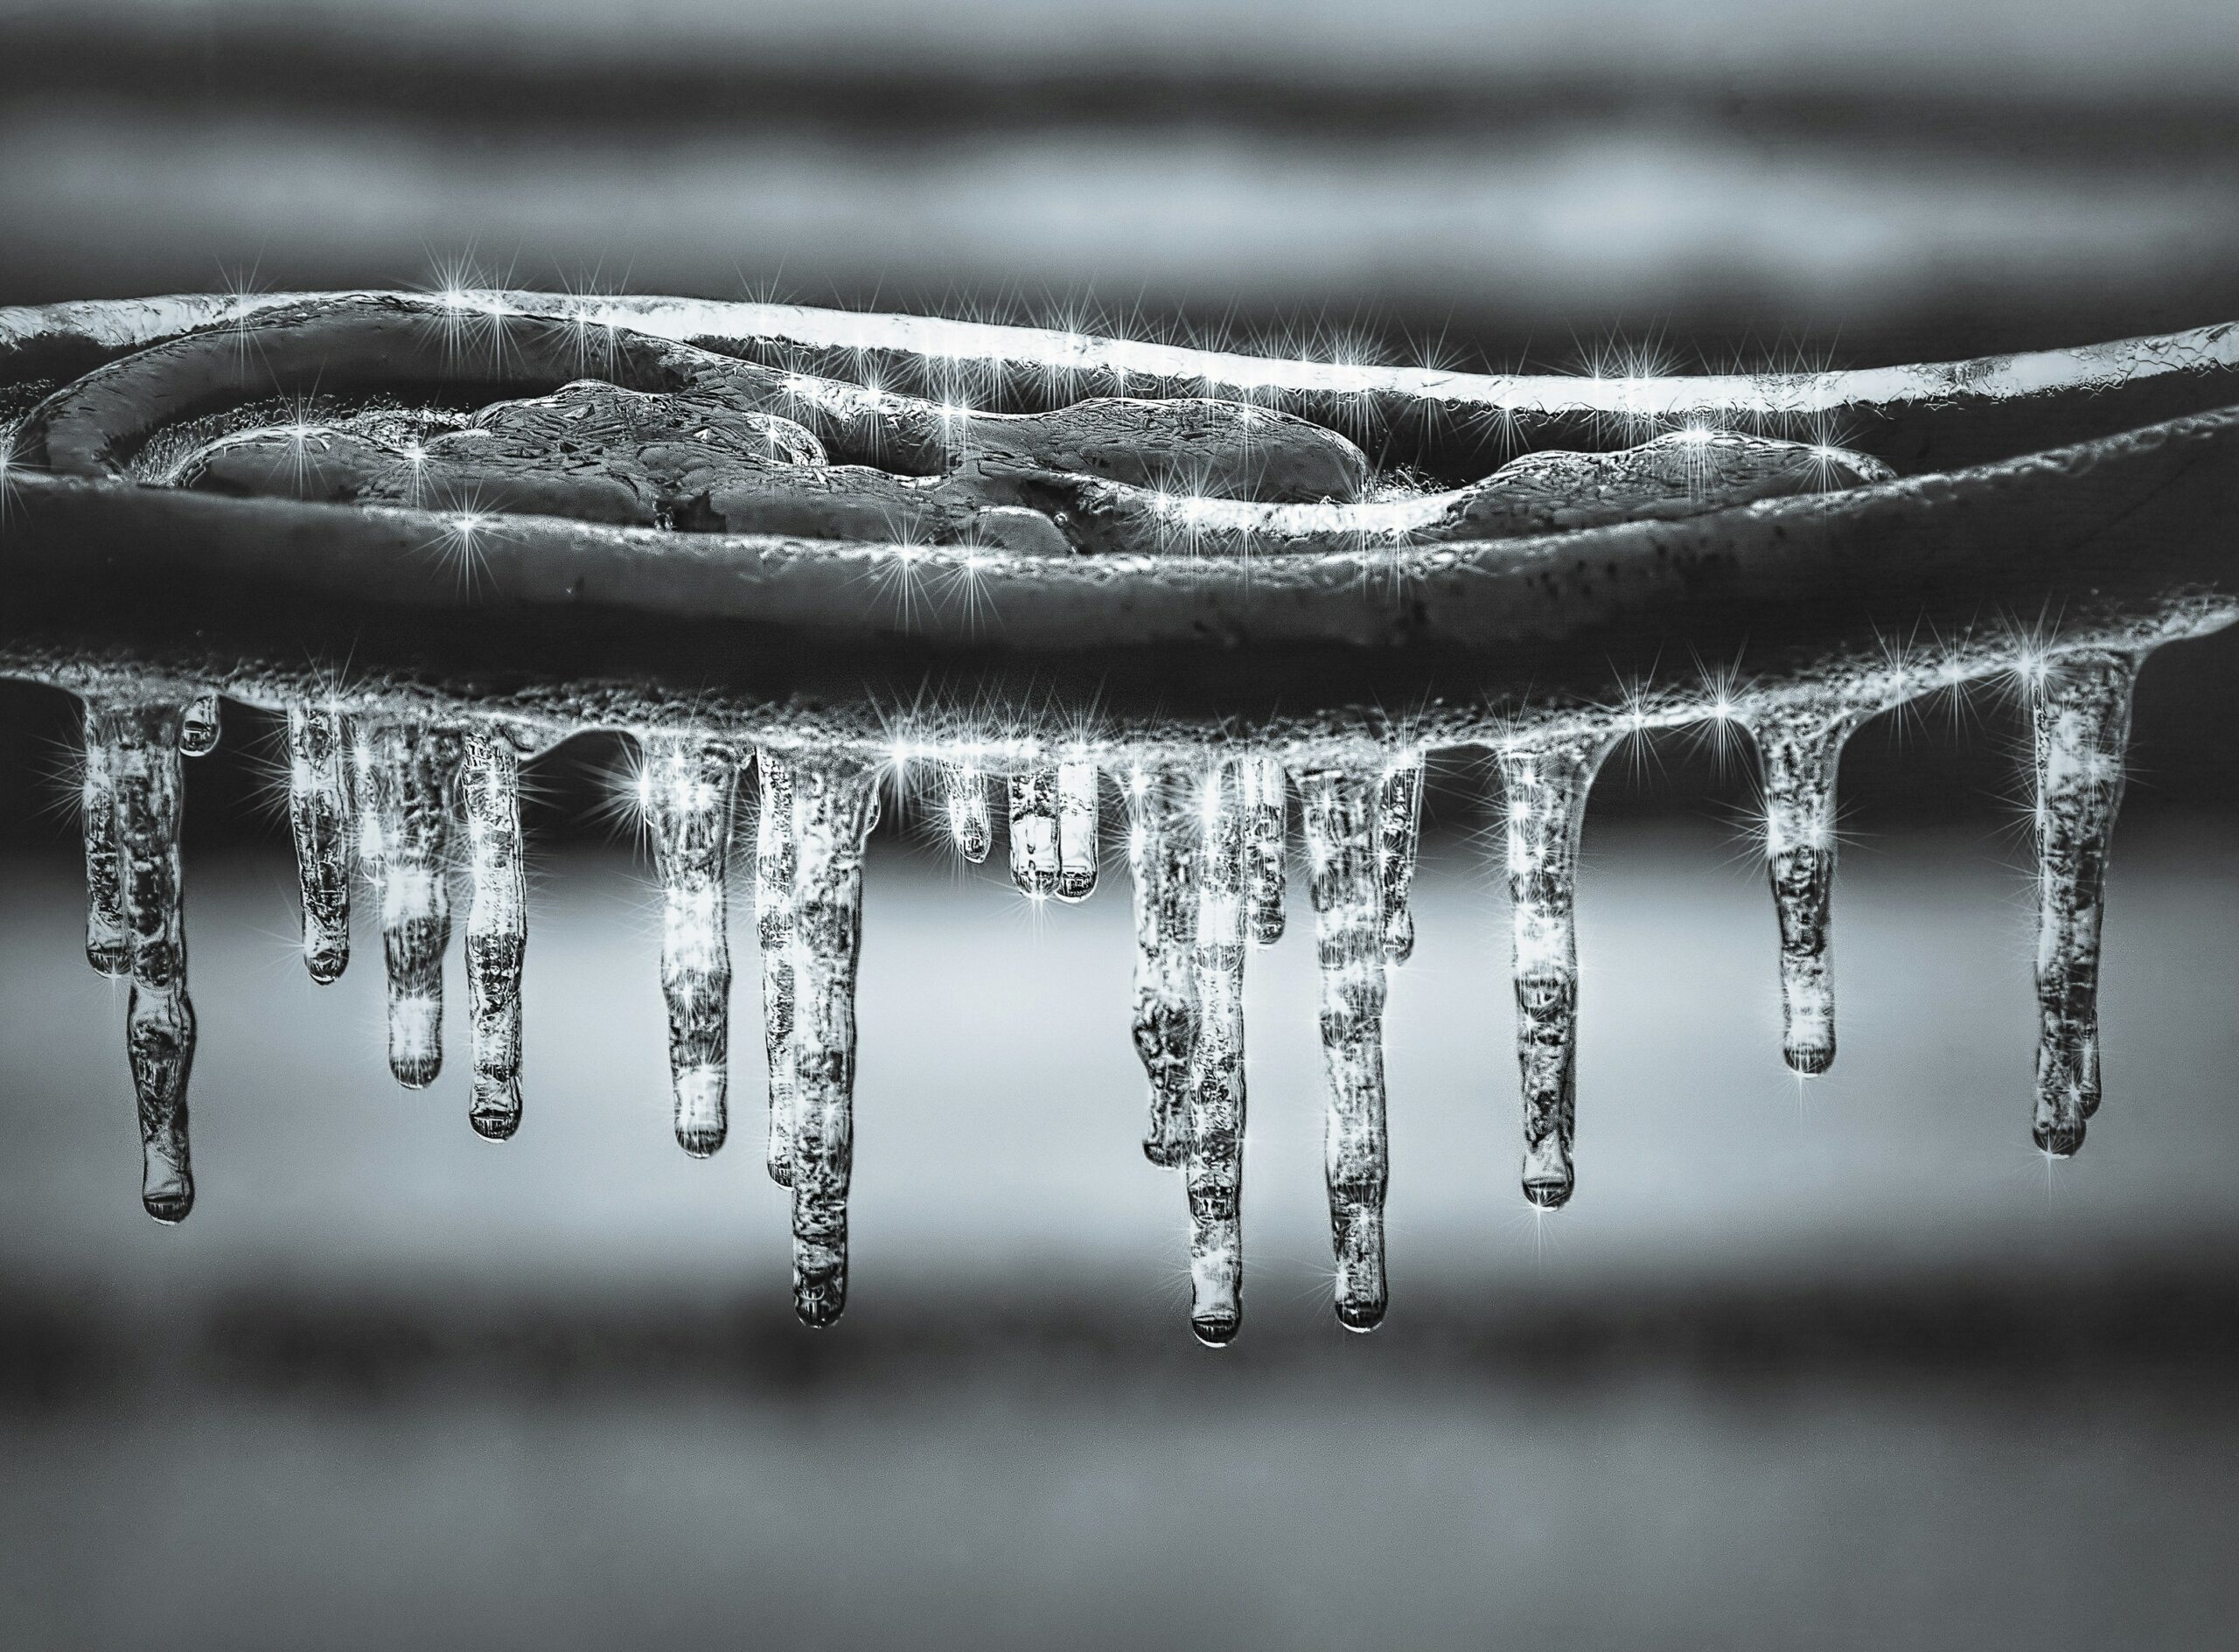
When the temperature dips, protecting your home from freezing is essential, especially the pipework of your plumbing system. This is where heat tape and heat cables come into play, but which is best to use? Below, F.H. Furr will help you decide which option is right for your home.
Why Protecting Your Pipes From Freezing Is Essential
Potable water is critical to almost every aspect of modern life. You use it for cooking, hygiene, and maintaining your home. When the temperature dips, your pipes are at risk of freezing. For water to continue flowing, you have to protect your pipes. By doing so, you:
- Limit the risk of emergencies
- Prevent burst pipes
- Avoid water damage
- Maintain water supply
- Maintain energy efficiency
- Prevent health hazards from standing water
What Are Heat Tape & Heat Cables?
Heat tape is a flat electrical cable designed to prevent pipes from freezing by generating heat when plugged in. Heat cables produce heat through electrical resistance when electricity flows through them. The key differences include:
- Design and flexibility: Heat tape is flat and easy to wrap around small pipes, while heat cables are round, flexible, and used for larger applications.
- Heat output: Heat tape provides moderate heat and is suitable for smaller needs. Heat cables offer higher heat output for more demanding applications.
The Benefits & Drawbacks of Heat Tape
Heat tape is affordable, energy-efficient, and flexible, making it ideal for pipe protection. However, it has a limited lifespan, requires periodic replacement, needs electricity, and can be a fire hazard if improperly installed.
The Benefits & Drawbacks of Heat Cables
Heat cables are simple to install, using clips or adhesive tape. They protect pipes from freezing and de-ice roofs and gutters, featuring thermostats and automatic shutoffs for safety. However, they can be costly, require electricity, and have a limited lifespan, needing periodic replacement. Incorrect installation also poses a fire risk.
Comparing Heat Tape vs. Heat Cables for Different Scenarios
Which Is Better for Straight Pipes?
Heat tape is easier to install on short or curved pipes, while heat cables are more effective for longer, straight pipes that need more heat.
Which Is Better for Curved or Irregular Pipe Shapes?
Heat tape is generally the better option in these situations due to its flexibility and ease of installation.
Which Option Lasts Longer?
Generally, heat cables are more durable and have a longer lifespan than heat tape. However, the actual longevity of either product depends on factors such as the conditions it’s used in and maintenance.
Factors To Consider Before Choosing
When deciding between these two methods, there are several factors to consider:
- Climate and environment: What sort of weather do you most often deal with in the winter? How much energy is required to keep your pipes from freezing?
- Energy efficiency: While heat tape is cheaper to install, heat cables are more cost-effective due to their energy efficiency and durability.
- Installation complexity: Heat cables require professional installation, while heat tape is generally easier to install, especially for small applications with curved or irregular pipes.
Installation & Maintenance
Having a pro install either heat tape or heat cables ensures the job is done safely. You minimize the risk of fire hazards and help maximize the systems’ longevity. Routine professional maintenance helps ensure the continued energy efficiency of both systems while helping them reach the full potential of their lifespan.
Schedule Service With F.H. Furr Today
Choosing the right heating method for your home boils down to your budget, heating requirements, and the size of the job. Heat tape is wonderful for smaller residential spaces with irregular pipes, while heat cables are excellent for larger applications requiring more heat.
If you’re still uncertain which method is right for your home, the expert heating technicians at F.H. Furr are here to help. We protect your home as if it were our own, which means we’re invested in helping you choose the right solutions.
Call F.H. Furr today or book an appointment online.
Have you discovered a clog in your sink or tub drain? Don’t panic; it happens to the best of us. Clogged drains are extremely common in most households. Although some are worse than others, many are easy to fix with these home remedies.
Drains get clogged for a number of reasons. Kitchen sinks succumb to grease, foreign food objects, and soap residue. Similarly, your shower drain can accumulate soap buildup over time, along with hair and dirt. There are several home remedies you can try to dislodge the clog before calling the pros.
Just remember, most plumbers get calls regarding a small problem that got worse once the homeowner tampered with it, so be sure to take a step back if you feel the job requires more attention than you can give.
These two home remedies may take you by surprise. Although they might not seem like the most conventional methods, they might be able to help you unclog the smallest to the most stubborn drains in your home:
1. Coca-Cola: Not Only Hard on Enamel
Surprise! Coke or Pepsi are great for vanquishing a clog. Everyone’s heard about how a nail will dissolve in a glass of Coke over time, and although most of us know this is a stretch, Coke is arguably better than many commercial chemical clog removers because of its strong dissolving agents.
To get started, purchase a two-liter bottle of Coke and allow it to acclimate to room temperature. After pouring it down the drain, let it fizz and work its corrosive power for an hour or two before running hot water.
Coke and Pepsi are loaded with phosphoric acid, which breaks down the buildup that can clog your drains. Phosphoric acid can even remove lime scale and other tough buildup that regular cleaners struggle with. This is an effective and refreshing home remedy if we ever saw one.
2. Using a Plunger in Your Sink or Bathtub
If your sink or bathtub is clogged beyond what a little Coca-Cola can clear, it might be time to pull out the plunger. If your sink gives you issues, fill it halfway, and if it’s your bathtub, stick to about four or five inches. This method, although effective, can be messy, so be prepared.
Another tip to remember when using the plunger is to make sure it has water in it. Using a plunger transfers energy through the pipe to dislodge the clog. If your plunger is full of air, it’s less effective because of the energy lost. If your plunger is full of water, all that energy will be submerged in the water, which will put more force on the clog.
How-Tos of Plunging*:
• Completely cover the drain with your plunger.
• Press and pull rapidly for about 35 seconds.
• If water starts draining slowly, add more water and plunge some more.
• If water starts draining rapidly, you’ve got it handled.
These home remedies are good DIY methods, but remember that if your plumbing issue seems like more than a plunger can handle, call a professional.
As always, when your plumbing is malfunctioning and you can’t seem to get a handle on it, contact the experts at F.H. Furr to help.
We’ll take care of you and your home and make sure things are done right the first time.
*Check out this pictorial guide to plunging a sink.
At F.H. Furr Plumbing, Heating, Air Conditioning & Electrical, we have great respect for all of you DIY-ers out there. It can be intimidating to sort through a plethora of internet resources to find the perfect quick fix for your minor plumbing problems.
Although we recommend you contact an F.H. Furr professional for any of your plumbing needs (improper DIY repairs can complicate the problem and end up costing you more money!), we acknowledge that many prefer to try their hand at home remedies first.
When it comes to using plumber’s putty or caulk for plumbing repairs, here’s a list of “DO NOT’S” to keep in mind:
Plumber’s putty: Contrary to popular belief, this is not the plumber’s “duct tape.” Plumber’s putty is a malleable substance used as a sealant for plumbing fixtures to aid against water exposure.
- DO NOT use plumber’s putty on plastic or metal threaded pipes to seal between joints. This is a job for Teflon tape.
- DO NOT use plumber’s putty to seal the area between the sink vanity and the wall. This is a job for caulk.
- DO NOT attempt to use plumber’s putty to join plastic pipes. This is a job for PVC primer.
- DO NOT use plumber’s putty on a porous material such as granite or marble — the composition of the plumber’s putty will stain these surfaces.
Caulk: This is misused in the same way as plumber’s putty; it seals against water intrusion and is often seen where the plumbing fixture meets the wall.
- DO NOT use caulk on anything pressurized.
These two substances have a specific purpose and aren’t always interchangeable. If you ever have a question about possible home remedies and minor DIY repairs, call an F.H. Furr trained professional. We pride ourselves on honesty and fair dealings.
Good luck with all your DIY plumbing endeavors, and remember, we’re here when you need us.
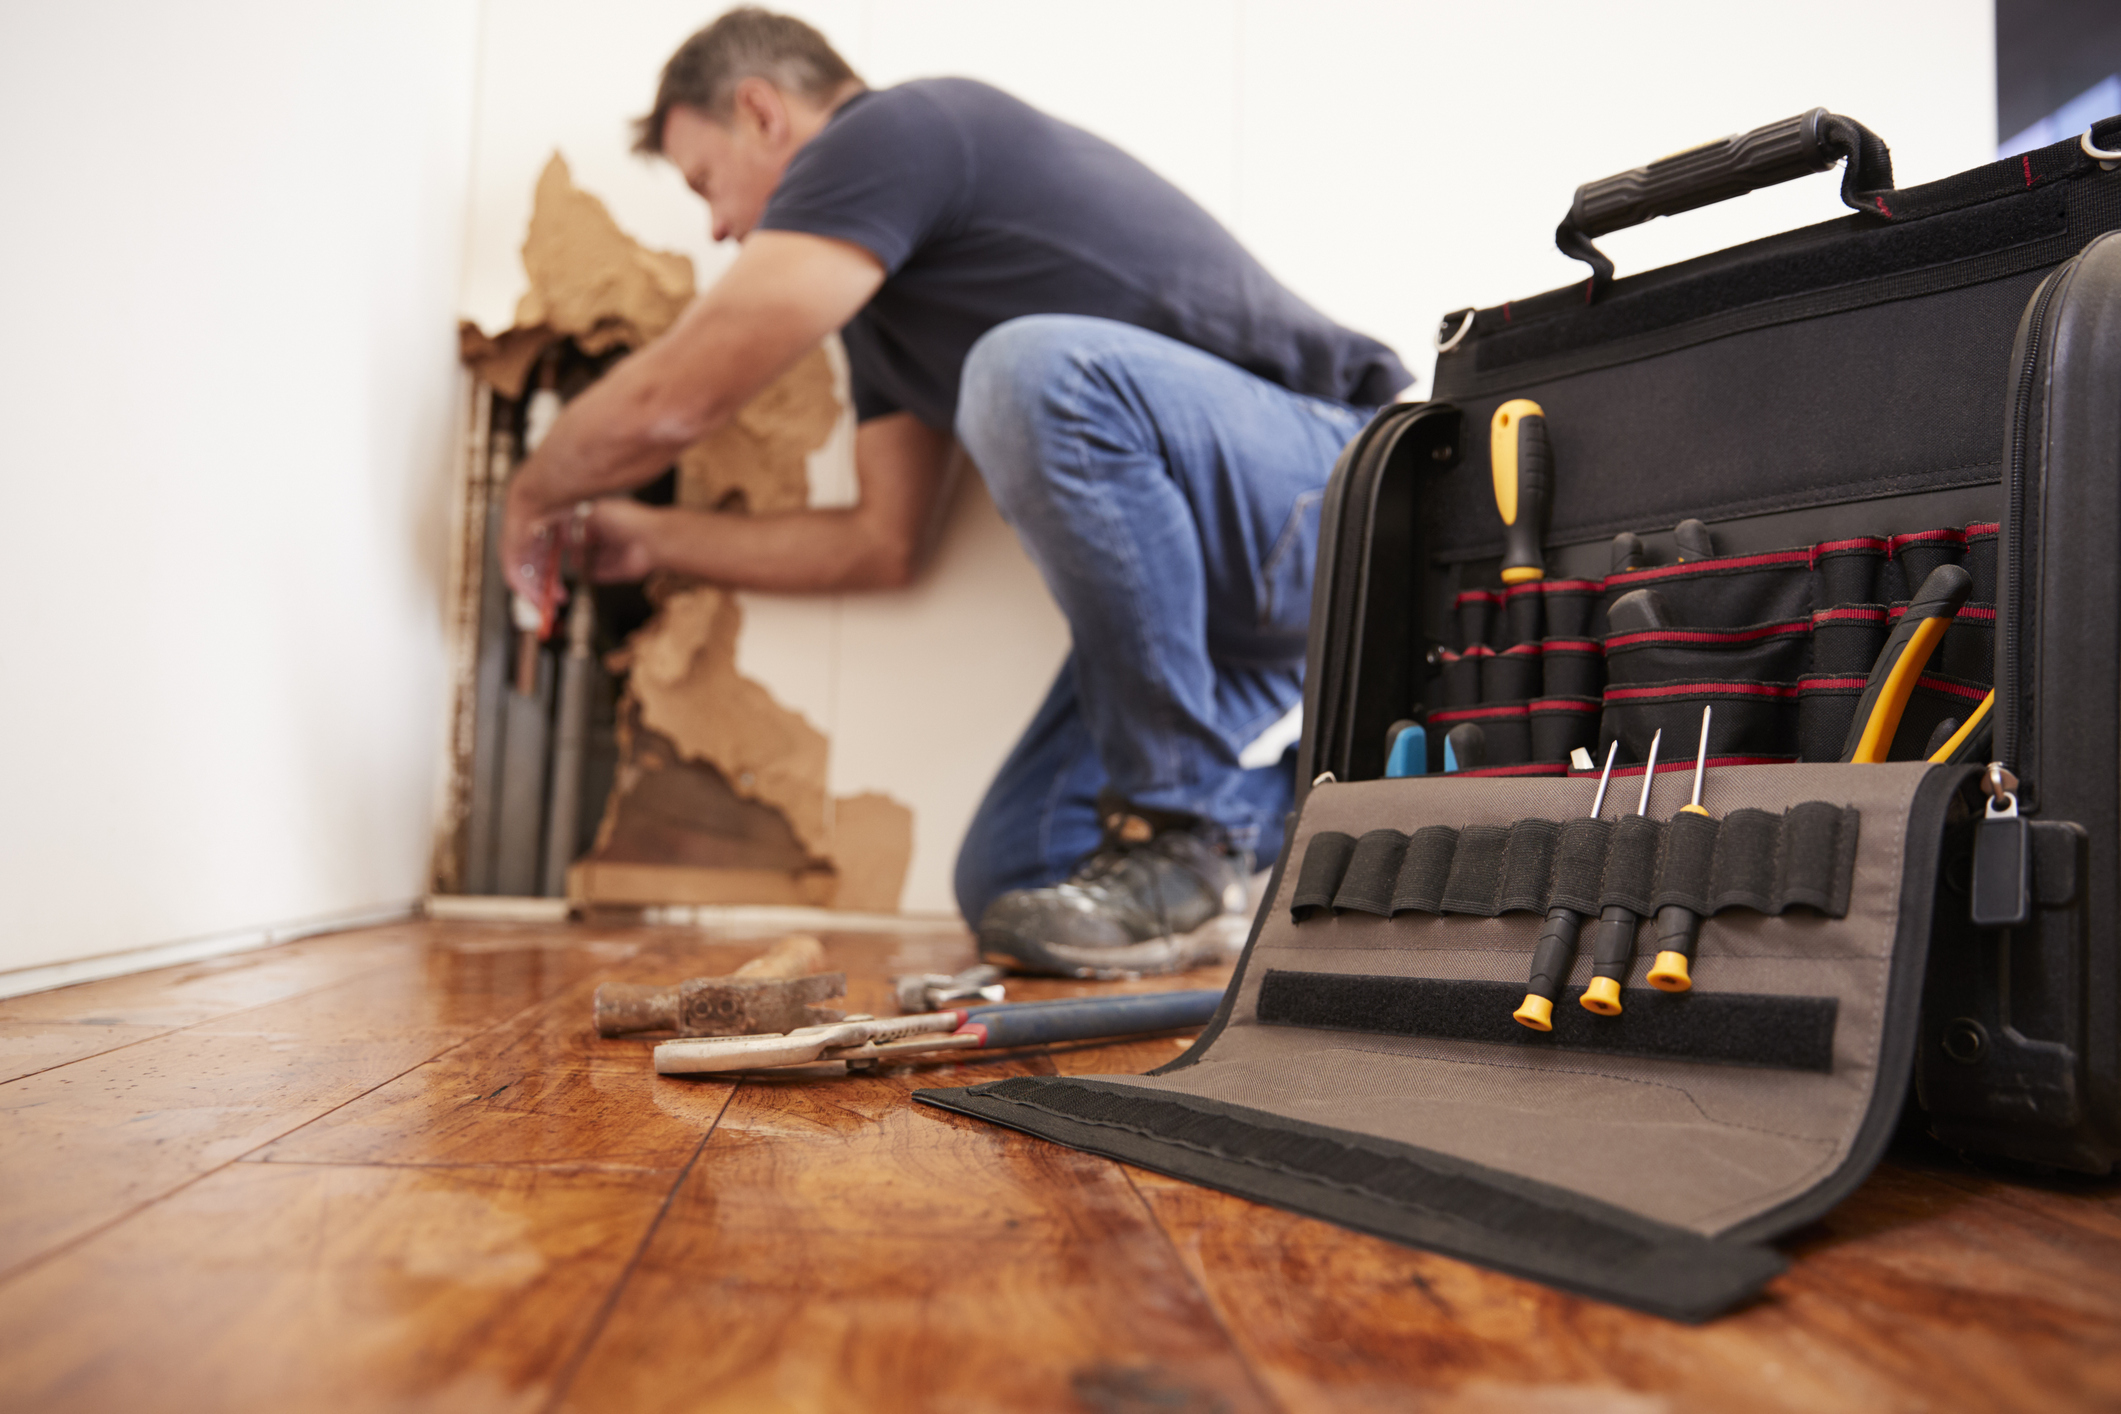
Plumbing leaks might seem harmless, but ignoring them can lead to serious and costly problems. At F.H. Furr Plumbing, Heating, Air Conditioning & Electrical, we know that even a small leak can lead to major water damage, mold growth, and structural issues.
That’s why prevention is essential for homeowners. By addressing plumbing concerns early, you can protect your home and avoid expensive repairs down the line.
Here, F.H. Furr explains the dangers of plumbing leaks and how to prevent them.
Routine Plumbing Maintenance & Inspection
Scheduling professional inspections ensures that experts evaluate your plumbing system, making it a critical part of homeownership. Investing in maintenance protects your home from unexpected plumbing emergencies and keeps your living environment healthy.
There are several DIY checks homeowners can perform to stay ahead of leaks and other plumbing issues, including:
- Check for water stains: Regularly inspect walls and ceilings for any signs of water stains, which can indicate hidden leaks.
- Examine fixtures and fittings: Check faucets, toilets, and showerheads for any signs of leaks or drips. Tighten loose connections as needed.
- Inspect pipes: Look for any signs of corrosion, rust, or deterioration on exposed pipes.
- Check your water heater: Inspect the area around your water heater for any signs of moisture or leaks.
Upgrading Aging Pipes & Fixtures
Knowing when to replace outdated plumbing is essential for maintaining a safe and efficient home. If your pipes are over 50 years old, show signs of rust or corrosion, or frequently leak, it’s time to consider an upgrade. Upgrading to newer materials like PEX and PVC can enhance your plumbing system’s durability and efficiency.
The benefits of using PEX and PVC include:
- PEX and PVC resist corrosion and rust.
- PEX is flexible, making it easier to install in tight spaces.
- Both materials are generally more affordable than metal piping.
- PEX and PVC are lighter than metal, making them easier to handle.
- PEX can expand when frozen, reducing the risk of bursting.
- These materials create less noise compared to metal pipes.
- PEX and PVC are easier to work with and require fewer tools.
Choosing the right faucets and fixtures for your plumbing system can significantly reduce the risk of leaks. Look for high-quality, durable materials and reliable brands to ensure longevity and minimize potential plumbing issues in your home.
Proper Water Pressure Management
High water pressure can excessively strain pipes, leading to leaks and potential damage over time. To protect your home, consider installing pressure regulators, which help maintain optimal water pressure and prevent fluctuations that could cause wear and tear.
With proper water pressure management and regular monitoring, you can extend the lifespan of your plumbing system, avoid costly repairs, and keep your home’s water pressure within a safe range.
Addressing Hard Water & Mineral Buildup
Dealing with hard water and mineral buildup is essential for plumbing, as excess mineral deposits can clog pipes and reduce water flow.
Signs you have hard water damage include:
- White, chalky deposits on faucets, showerheads, and tiles
- Decreased water flow from taps and fixtures
- Hair feels lifeless and lacks shine after washing
- Appliances like dishwashers and water heaters fail sooner than expected
- Water spots or film on clean dishes and glassware
A water softener or regular descaling can help prevent these issues, ensuring your plumbing lasts longer and your water quality stays high.
Seasonal Preparations To Prevent Freezing Pipes
When temperatures drop, the water in your pipes can freeze, causing the pipes to expand and, in some cases, crack. This can lead to costly repairs and significant water damage when the ice thaws.
Here’s how you can help prevent pipe freezing:
- Insulate exposed pipes in unheated areas like basements and garages.
- Be prepared to use your shut-off valves to help prevent major water damage if a leak develops.
- Schedule professional plumbing inspections to help identify and repair potential issues.
- Install water leak detectors in areas that are prone to leaks.
Schedule Service With F.H. Furr
Trust F.H. Furr for plumbing services you can rely on, especially when it comes to leak detection and repairs. We hire “Absolutely the Best” people, ensuring every plumber brings expertise and professionalism to your home.
Plus, with our flat-rate pricing, you’ll know exactly what you’re paying upfront, and we treat your home with the same care and respect as our own.
Call F.H. Furr today or request an appointment online. We service DC, Northern Virginia, Maryland, Delaware, and Richmond, VA.
Winter is coming, and with it comes the need to prepare your home for the harsh weather and bitter temperatures. Winterizing your home can help protect it from damage and keep it cozy and warm. From plumbing to HVAC and electrical systems, there are several steps you can take to ensure your home is ready for winter.
F.H. Furr Plumbing, Heating, Air Conditioning & Electrical is here to help you prepare your home for cold weather. Here’s a checklist to make your home winterization simple.
The Importance of Winterizing Your Home
Winterizing your home is important for several reasons. It helps keep your living space comfortable, prevents repairs, and can reduce energy bills. Some other key benefits of winterizing your home include:
- Energy efficiency: A winterized home is more energy-efficient, leading to lower heating bills.
- Prevents damage: Winterization protects your plumbing, HVAC, and electrical systems from cold weather damage, like frozen pipes or electrical failures.
- Enhances comfort: Ensuring your heating system and insulation are in top shape keeps your home warm and comfortable all winter.
- Prolongs equipment life: Routine maintenance and preparation can extend the lifespan of your home’s essential systems.
Our Winterization Checklist
Winterizing your home doesn’t have to be complicated. Here’s a checklist of steps you can take to ensure your home is ready for the winter chill:
1. HVAC System Maintenance
Your heating system is critical in keeping your home warm during winter. Annual maintenance can prevent breakdowns and ensure efficiency. Here’s how to winterize your HVAC system:
- Schedule heating maintenance: Regular heating maintenance can identify and fix potential issues before they turn into costly repairs. Consider scheduling HVAC services with F.H. Furr to ensure your system runs efficiently.
- Replace air filters: Dirty filters can reduce airflow and strain your system. Replace them every one to three months during the winter.
- Inspect ductwork: Check for leaks or gaps in your ductwork that could allow warm air to escape, reducing the system’s efficiency.
2. Insulate Your Home
You need proper insulation to keep the warm air in and the cold air out. Here are the insulation winterization steps to take:
- Check attic insulation: Make sure your attic is well-insulated to prevent heat loss.
- Seal gaps and cracks: Use weatherstripping or caulking to seal gaps around doors, windows, and other areas where warm air might escape.
3. Prepare Your Plumbing
Protecting your plumbing from colder temperatures is critical. Frozen pipes can lead to major water damage and costly repairs. Here’s how to winterize your plumbing:
- Insulate pipes: Insulate exposed pipes in unheated areas, like your basement or garage, to prevent them from freezing.
- Drain outdoor faucets: Disconnect garden hoses and drain outdoor faucets to avoid freezing.
- Schedule plumbing maintenance: Routine plumbing care from F.H. Furr can help identify potential issues before they become emergencies.
4. Inspect Your Water Heater
Your water heater works harder in the winter, so it’s wise to ensure it’s in good condition. Here’s our water heater checklist:
- Flush the tank: Sediment buildup can reduce efficiency. Flushing the tank can help maintain its performance.
- Set the right temperature: Set your water heater to 120°F to prevent scalding and save on energy.
5. Electrical System Check
Winter storms can lead to power outages. Making sure your electrical system is up to date can help you avoid inconveniences. To winterize your electrical system, follow these steps:
- Inspect your electrical panel: Make sure your panel is functioning correctly to avoid overloads during the winter.
- Test smoke and carbon monoxide detectors: Replace batteries and ensure all detectors are working correctly.
- Schedule electrical maintenance: Book an electrical service to ensure your home’s electrical system is safe and ready for winter.
6. Clean Gutters & Downspouts
Clogged gutters can lead to ice dams, which can cause water damage to your home. Here’s what to do to winterize your gutters:
- Remove leaves and debris: Clean your gutters to ensure water flows freely away from your home.
- Inspect for damage: Check for cracks or leaks that could lead to water damage.
7. Check Your Home’s Exterior
Winter weather can be harsh on your home’s exterior. Take these simple steps to help prepare your home’s exterior for winter:
- Inspect the roof: Look for damaged or missing shingles and make necessary repairs to prevent leaks.
- Trim trees: Remove dead branches that could fall during a storm and damage your home.
Count on F.H. Furr for Winterization Services
Winterizing your home is an important task that can save you from expensive repairs and keep your living space warm and comfortable all season. By following these steps, you can protect your home’s HVAC, plumbing, and electrical systems.
To make sure you’re getting the most out of your systems, count on F.H. Furr. We’re ready to help with professional maintenance and repairs. We offer top-quality services and are committed to exceptional work and customer service. From heating maintenance to electrical repair, we’ve got you covered.
Get winter-ready with F.H. Furr. Schedule home winterization services with us today.
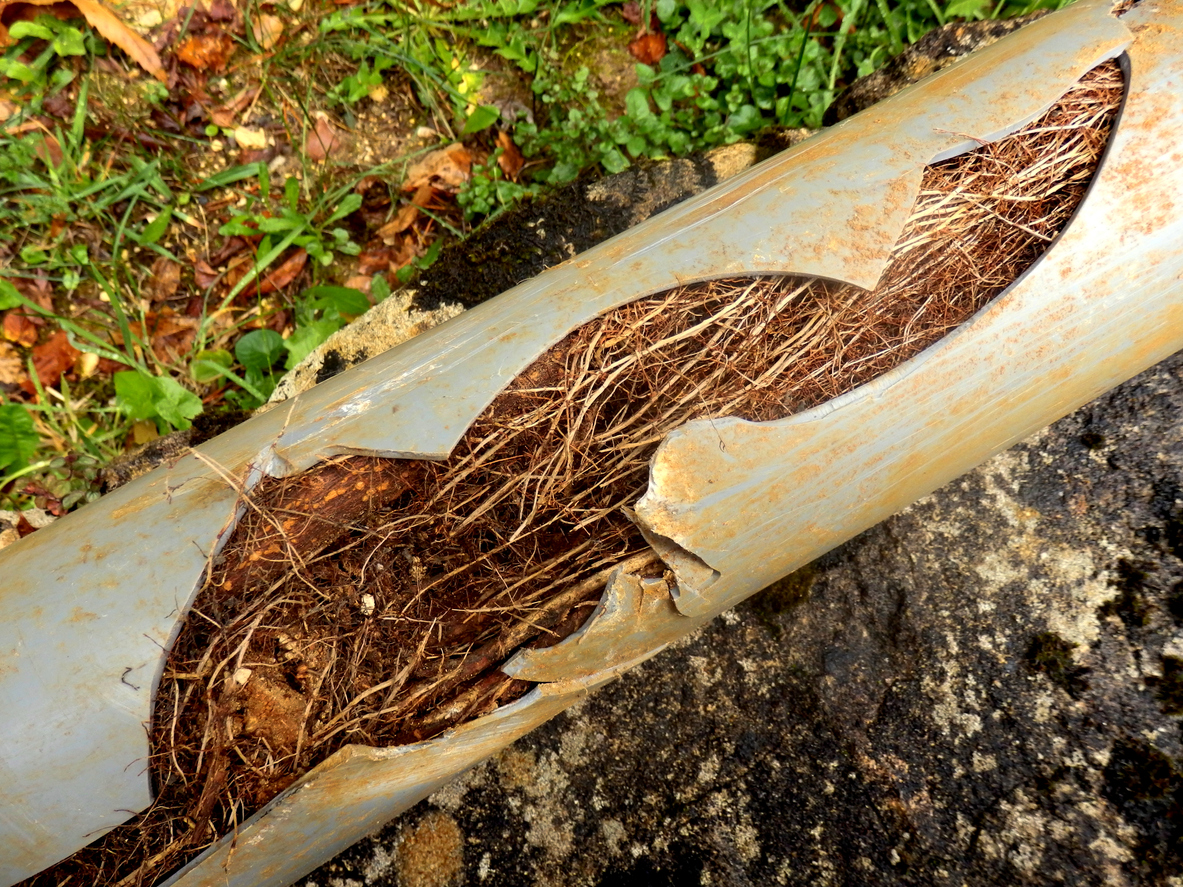
Tree root infiltration is a common but often overlooked problem that can wreak havoc on your plumbing system. As tree roots grow, they seek nutrients from water sources, often getting into small cracks and joints in your plumbing pipes. If left untreated, these roots can cause significant damage, leading to costly repairs.
Here, the plumbing experts at F.H. Furr Plumbing, Heating, Air Conditioning & Electrical explain tree root infiltration, the signs to watch for in your plumbing system, and how to address the issue effectively.
What Is Tree Root Infiltration?
Tree root infiltration occurs when the roots of trees and shrubs invade underground plumbing systems. Roots naturally seek out moisture; if there’s a leak or condensation on your pipes, they’ll gravitate toward it.
Once the roots reach the pipes, they can enter through tiny cracks or joints. Over time, as the roots grow and expand, they can cause blockages, reduce water flow, and even break the pipes.
Tree root infiltration is particularly problematic for older plumbing systems, which may be more prone to cracks and leaks. This issue can lead to severe plumbing issues, including sewage backups, slow-moving drains, and water damage in your home.
Signs of Tree Root Infiltration
Detecting tree root infiltration early can help you avoid extensive damage and costly repairs. These are a few of the most common signs of tree root infiltration in your plumbing:
- Slow drains: If multiple drains in your home are slow, it could indicate a blockage caused by tree roots.
- Gurgling noises: Strange gurgling sounds from your toilets or drains can be a sign of root intrusion.
- Frequent clogs: Persistent clogs, especially in toilets, could be due to roots blocking the pipes.
- Sewage backups: If sewage is backing up into your home, tree roots may have caused significant damage to your sewer line.
- Lush patches: Unusually green and lush patches of grass in your yard, especially near sewer lines, can indicate a leak where tree roots are thriving.
How To Fix Tree Root Infiltration in Your Plumbing System
Addressing tree root infiltration can range from simple DIY fixes to requiring professional intervention. Here’s how you can tackle the issue:
- Chemical root killers: Chemical root killers are available at most hardware stores and can be used to eliminate tree roots in pipes. These chemicals won’t harm your tree but will dissolve the roots inside your plumbing system.
- Hydro jetting services: This professional service involves using high-pressure water to clear the roots from your pipes. It’s highly effective and can remove even the toughest blockages.
- Mechanical augers: For minor root intrusions, a mechanical auger or drain snake can cut through the roots and clear the blockage.
- Pipe lining or replacement: In severe cases, you may need to replace or reline the damaged pipes. This is a more extensive repair that should be handled by a professional plumber.
While some minor root intrusions can be managed with DIY methods, it’s important to know when to call the professionals. If you notice frequent backups, slow drains, or sewage issues, it’s time to call a professional plumber.
We have the tools and expertise to thoroughly inspect your plumbing system and provide a lasting solution.
Schedule Tree Root Infiltration Services
Don’t let tree root infiltration damage your plumbing system and disrupt your daily routine. If you suspect tree roots are causing problems in your pipes, F.H. Furr has the skills and expertise to address the issue head-on.
With a deep commitment to hiring “Absolutely the Best” plumbers and 100% customer satisfaction guaranteed, you can rest assured that our team will protect your home as if it were our own, providing the effective tree root infiltration solutions you need to restore your plumbing system’s total functionality.
Ready to schedule tree root infiltration services? Get a plumber in your home for free by calling F.H. Furr today.
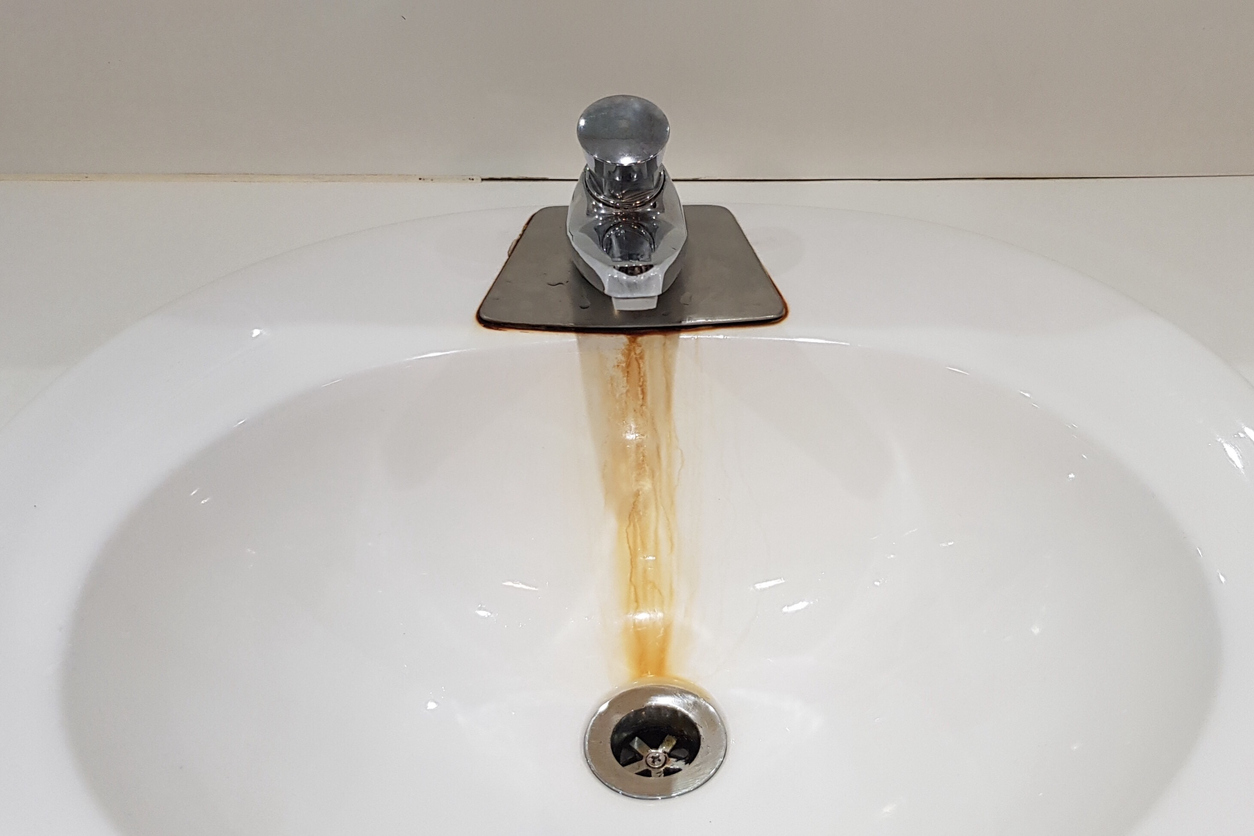
Rust stains in your sinks can be a frustrating and unsightly problem, leaving you with a lackluster kitchen or bathroom in an instant. These stubborn stains can make even the cleanest sinks appear dirty and neglected. Fortunately, there are several DIY techniques you can try to alleviate the issue and preventative measures you can use to ensure it doesn’t come back.
The expert plumbers at F.H. Furr Plumbing, Heating, Air Conditioning & Electrical offer a comprehensive guide on how to treat rust stains in sinks and what you can do to prevent them.
What Causes Rust Stains in Sinks?
The primary cause of rust stains is iron in the water or metal objects being left in the sink basin. When water with high iron content comes into contact with the sink’s surface, it can oxidize and leave behind reddish-brown stains.
Additionally, metal items like cans, cast iron pans, or steel wool left in the sink can rust and transfer those stains onto the sink’s surface. Over time, these stains can build up and become more difficult to remove if not addressed promptly.
DIY Sink Rust Stain Removal Techniques
If you’re dealing with rust stains in your sink, don’t worry — there are several DIY techniques you can try using common household items, including:
Lemon Juice & Baking Soda
One of the simplest and most effective methods for removing rust stains in your sinks is using lemon juice and baking soda. Here’s what to do:
- Apply lemon juice: Squeeze fresh lemon juice directly onto the rust stain, ensuring it’s thoroughly soaked.
- Sprinkle baking soda: Sprinkle a generous amount of baking soda over the lemon juice.
- Scrub the area: Use a soft cloth or sponge to scrub the mixture into the stain. You should see the rust start to lift.
- Rinse the area: Once thoroughly scrubbed, rinse the area with water and wipe it clean with a dry cloth.
Vinegar & Salt
Vinegar is another powerful cleaning agent that can effectively dissolve rust stains, especially when combined with salt. Follow these steps:
- Mix vinegar and salt: Create a paste by mixing white vinegar and salt.
- Apply paste: Apply the paste to the rust stain, covering it completely.
- Let sit: Allow the paste to sit for about 30 minutes to one hour.
- Scrub: Use a brush or sponge to scrub the area.
- Rinse: Rinse thoroughly with water and dry with a cloth.
Cream of Tartar & Hydrogen Peroxide
This combination is excellent for more stubborn rust stains and works well on both porcelain and stainless-steel sinks. To remove sink stains with this method, perform these steps:
- Mix both substances: Create a paste using cream of tartar and a few drops of hydrogen peroxide.
- Apply paste: Spread the paste over the rust stain.
- Let sit: Let it sit for about 10 to 15 minutes.
- Scrub: Gently scrub the area with a sponge or cloth.
- Rinse: Rinse with water and dry the sink.
Preventing Rust Stains in Sinks
Preventing rust stains in your sink is easier than treating them after they appear. Here are a few helpful tips to keep your sinks rust-free:
- Keep your sink dry: Wipe down your sink after each use to prevent water from sitting on the surface.
- Use a sink protector: Consider using a rubber mat or sink grid to prevent metal objects from coming into direct contact with the sink.
- Avoid metal cans: Don’t leave metal cans or other rust-prone objects in the sink for extended periods.
- Use water softeners: If your water is high in iron, consider installing a water softener to reduce mineral deposits.
Schedule Plumbing Services Today
Do you have rust stains that won’t come out or hard water issues that need to be addressed? Call F.H. Furr Plumbing, Heating, Air Conditioning & Electrical to fix the problem quickly. From sink replacements to water softener installations, we offer the comprehensive solutions you need to combat rust stains in your plumbing fixtures.
Schedule plumbing services by calling the F.H. Furr team today.
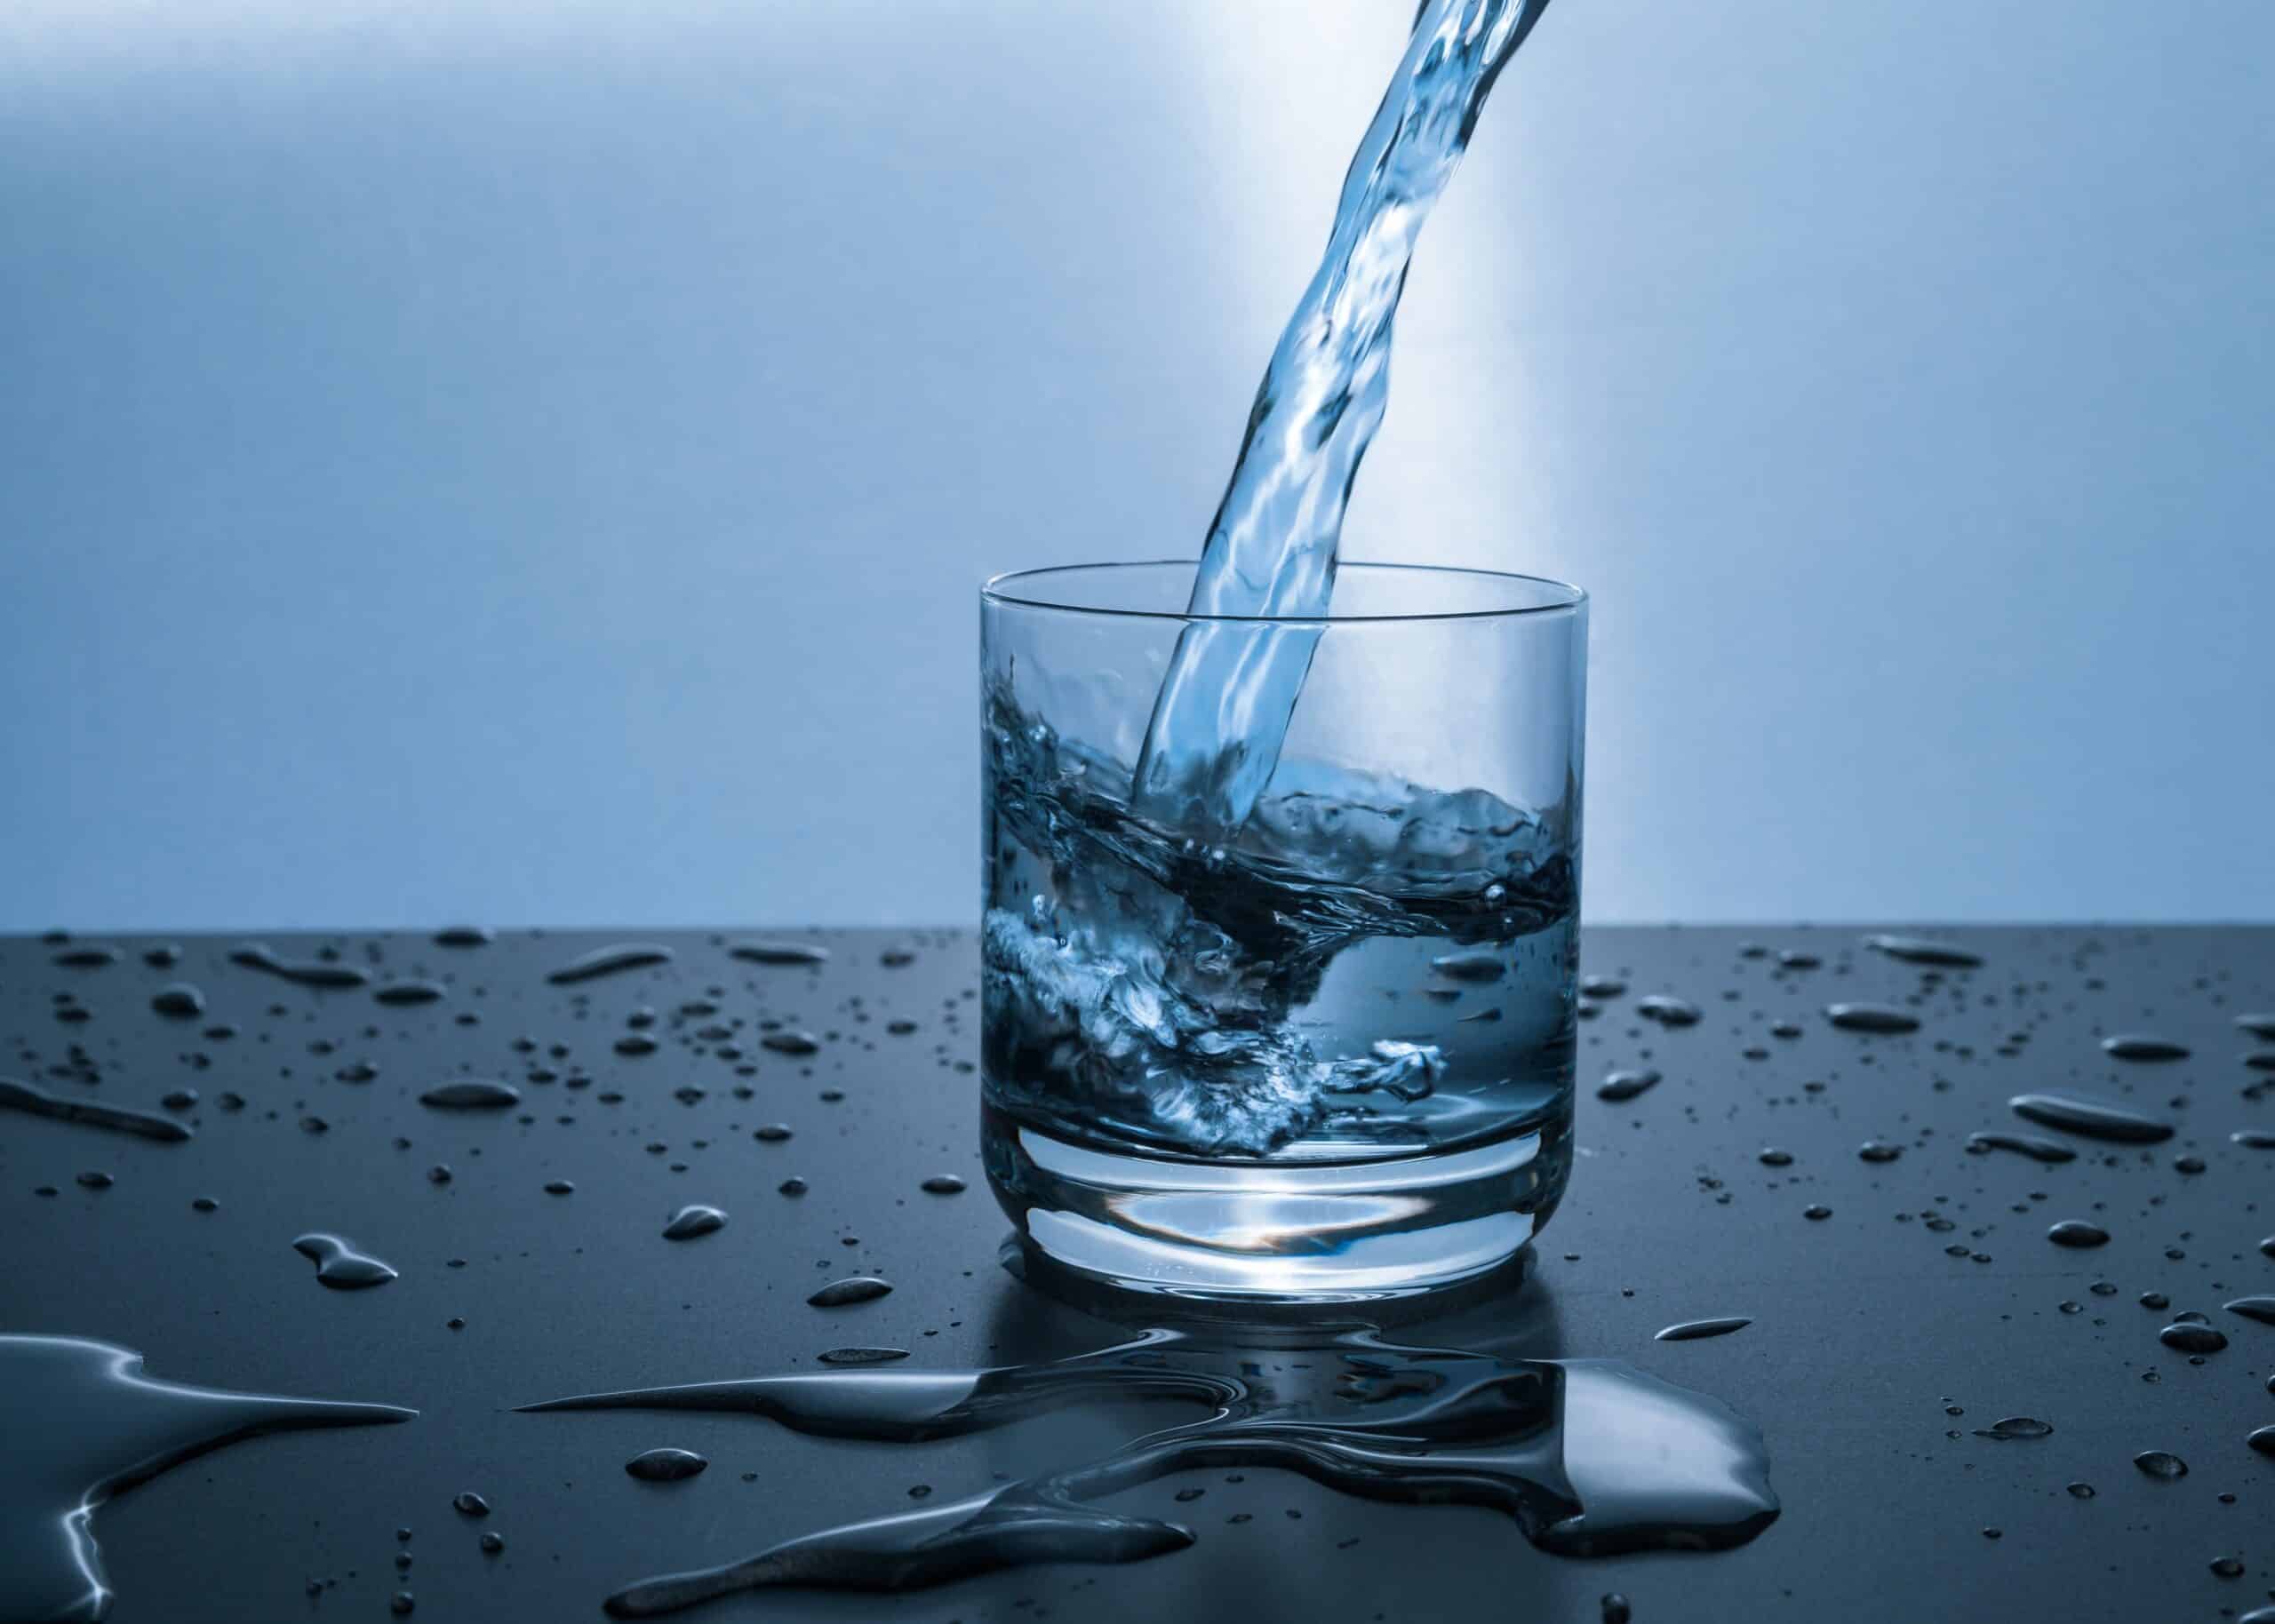
Water plays a pivotal role in our daily lives, weaving through our households, sustaining life, and powering our communities. At F.H. Furr Plumbing, Heating, Air Conditioning & Electrical, we recognize the significance of ensuring every drop that flows through your faucets isn’t just plentiful but, more importantly, pure.
Join us as we dive into the realm of water systems testing and treatment for a greater understanding of water supply and safety.
Understanding the Source: City vs. Well Water
In urban areas, city water undergoes meticulous testing, is sourced from rivers, lakes, or reservoirs, and is treated at municipal plants to eliminate impurities. However, for those relying on well water, a heightened sense of responsibility and knowledge of well systems is essential.
Well owners must actively check quality reports and conduct regular testing due to potential contamination from the environment, which may include industrial and agriculture impurities.
Causes of City Water Contamination
- Naturally occurring toxins like radon, arsenic, and uranium
- Land use practices from nearby industries
- Antiquated water lines (lead)
- Outbreaks of pathogens like Giardia, Legionella, Norovirus, Salmonella, and Hepatitis A
Causes of Well Water Contamination
- Perils emanating from animal waste, particularly from livestock
- The lurking threat posed by petroleum tanks, fertilizer storage, or liquid manure
- The potential hazard of manure piles if within 250 ft. of a water source
- The shadow of oil and gasoline drilling within aquifer beds
We emphasize the importance of remaining vigilant, whether you’re connected to the city grid or dependent on a well. Your water source’s purity is the first line of defense against contaminants.
Testing Waters: A Crucial Examination
Testing water is akin to your annual health exam. It’s an essential diagnostic tool that unveils the presence of contaminants that could jeopardize the safety of your water supply. We advocate for a thorough examination, encompassing parameters such as bacteria, hardness, pH, iron, and chlorine.
Bacteria: Guarding Against Microbial Threats
In the microscopic realm of water, bacteria can pose a significant threat to health. Through meticulous microbiological testing, we ensure that your water is free from harmful pathogens. After all, safe water isn’t just a luxury; it’s a fundamental necessity.
Hardness: Tackling the Minerals Challenge
Hard water, laden with calcium and magnesium, may seem harmless, but its impact on your plumbing and appliances can be insidious. Testing methods delve into the mineral concentration, providing insights to combat scale buildup and ensure the efficiency of your water-dependent appliances.
pH: Balancing the Acidity
The delicate balance of acidity and alkalinity in water is crucial for its taste and impact on plumbing. Testing procedures ascertain the pH levels, allowing us to guide you in maintaining the ideal equilibrium for your water.
Iron: Eliminating Discoloration & Taste Concerns
Iron, though not harmful, can lead to discoloration and unpleasant tastes. Our testing methodologies can uncover elevated iron levels, empowering you to address these issues and restore the look and taste of your water.
Chlorine: Ensuring Disinfection Without Compromise
Chlorine, a stalwart in water treatment, ensures the elimination of bacteria. Yet, excessive levels can impact taste and form byproducts. Precise testing of chlorine levels guarantees the perfect balance — effective disinfection without compromising the quality of your water.
Treatment Systems: A Shield for Your Water
Once the tests unveil the intricacies of your water’s composition, F.H. Furr is ready with a suite of treatment systems designed to fortify your water against impurities.
Reverse Osmosis (RO) Systems: Purity Through Precision
Our RO systems, a pinnacle of water purification, use semi-permeable membranes to filter out contaminants, delivering pristine drinking water. With F.H. Furr, you experience water purity through precision.
The WOW RO Unit: Efficiency Meets Innovation
Our patented “water-on-water” reverse osmosis design is a testament to efficiency and innovation. With water waste reduction of up to 500%, the WOW RO unit conserves resources and elevates the standards of water treatment.
Bacteria Treatments: A Surgical Approach
Reverse osmosis doesn’t eliminate bacteria but expertly sieves them off. Whether through UV light or chemical feeders, we make sure biological contaminants are kept at bay, allowing only pure water to flow through.
UV Systems: Harnessing Light for Purity
Our UV systems harness the power of light to offer a 99% pure bacterial treatment. With F.H. Furr, you embrace a future where water treatment combines efficacy with environmental responsibility.
Chemical Feeder Systems: Versatile Guardians
Chemical feeders, accompanied by tanks, pumps, and mixing chambers, emerge as versatile guardians. From bacteria to sulfur smells, our chemical feeder systems offer a comprehensive defense against waterborne threats.
Schedule Water System Testing & Treatment
Understanding the importance of water treatment and systems is crucial for ensuring clean and safe water for everyone. We’ve explored how water treatment works to remove impurities, making water suitable for consumption and daily use.
From filtration to disinfection, these processes play a vital role in protecting our health and the environment.
Call (844) 413-3420 today if you’re ready to enhance your water.